News
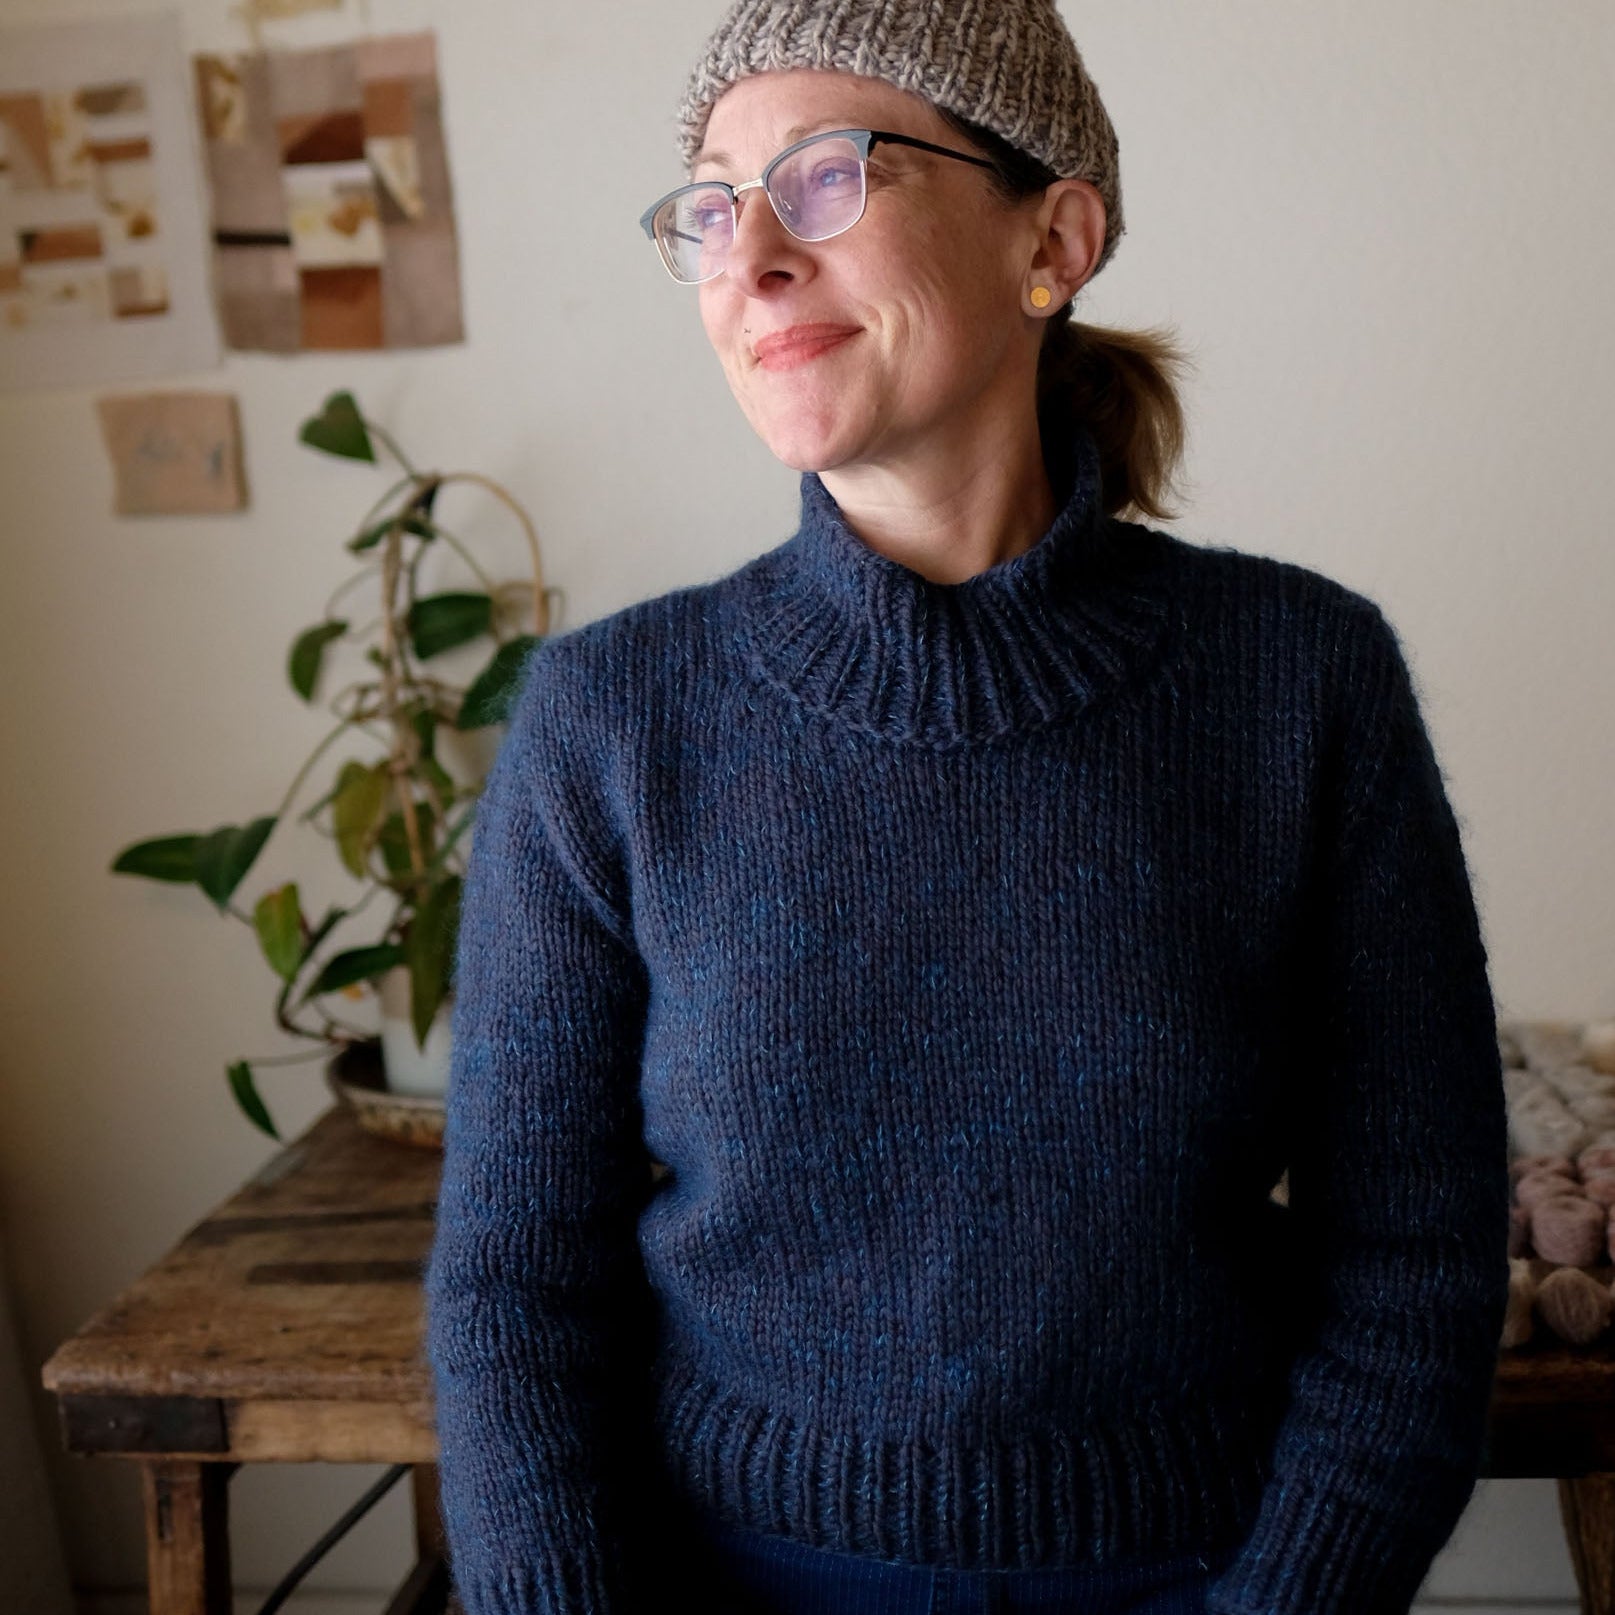
Mabel // wrap yourself in inky blue bliss
Meet Kristine's first FO of 2026: Mabel in shades of deep navy and indigo.
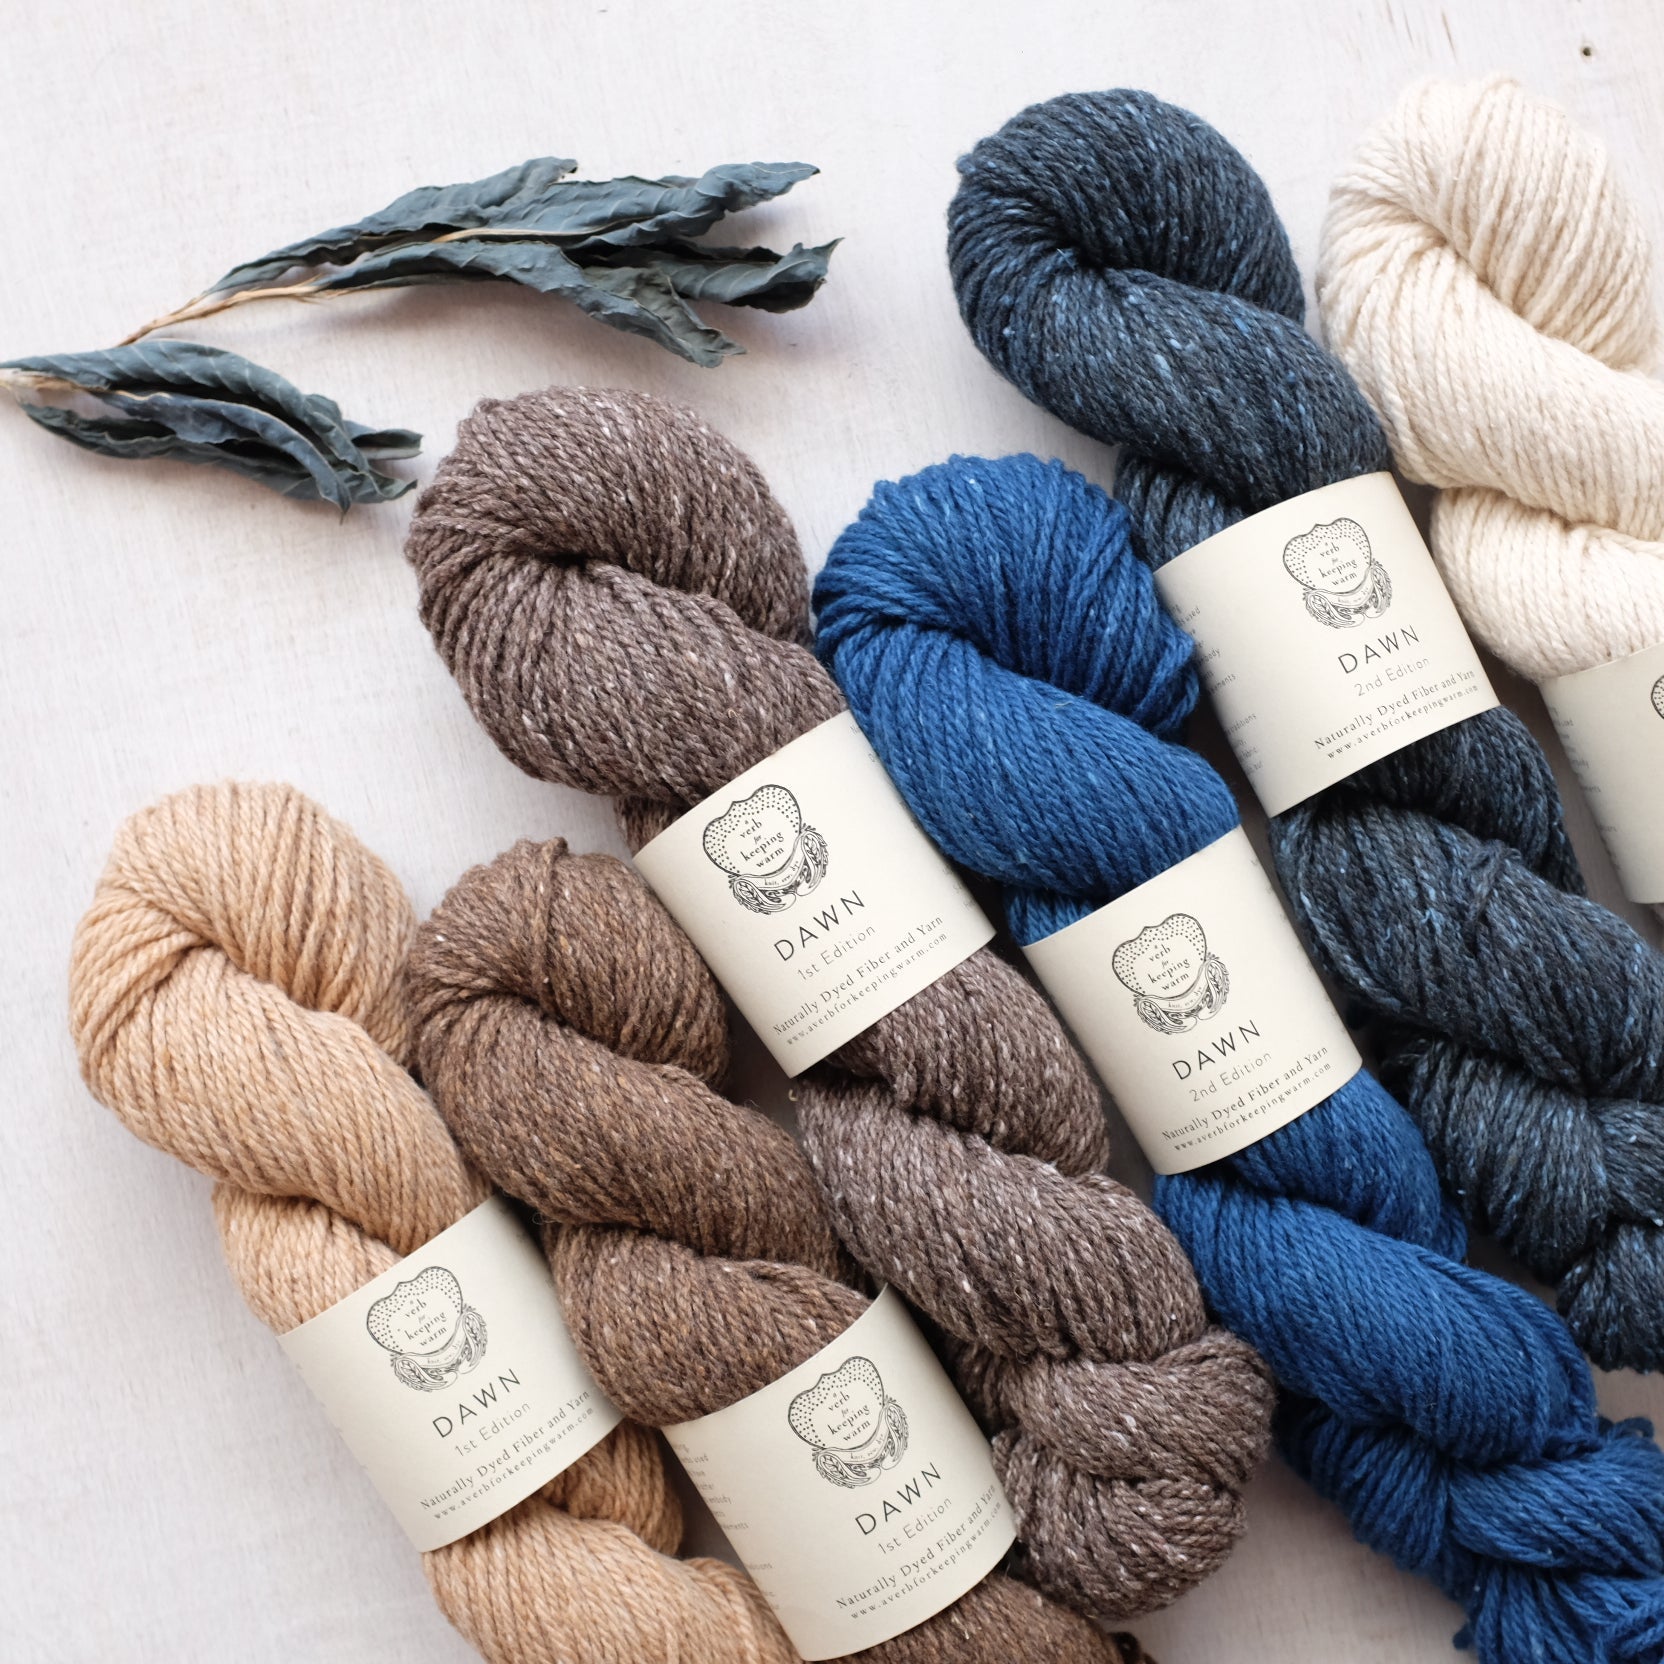
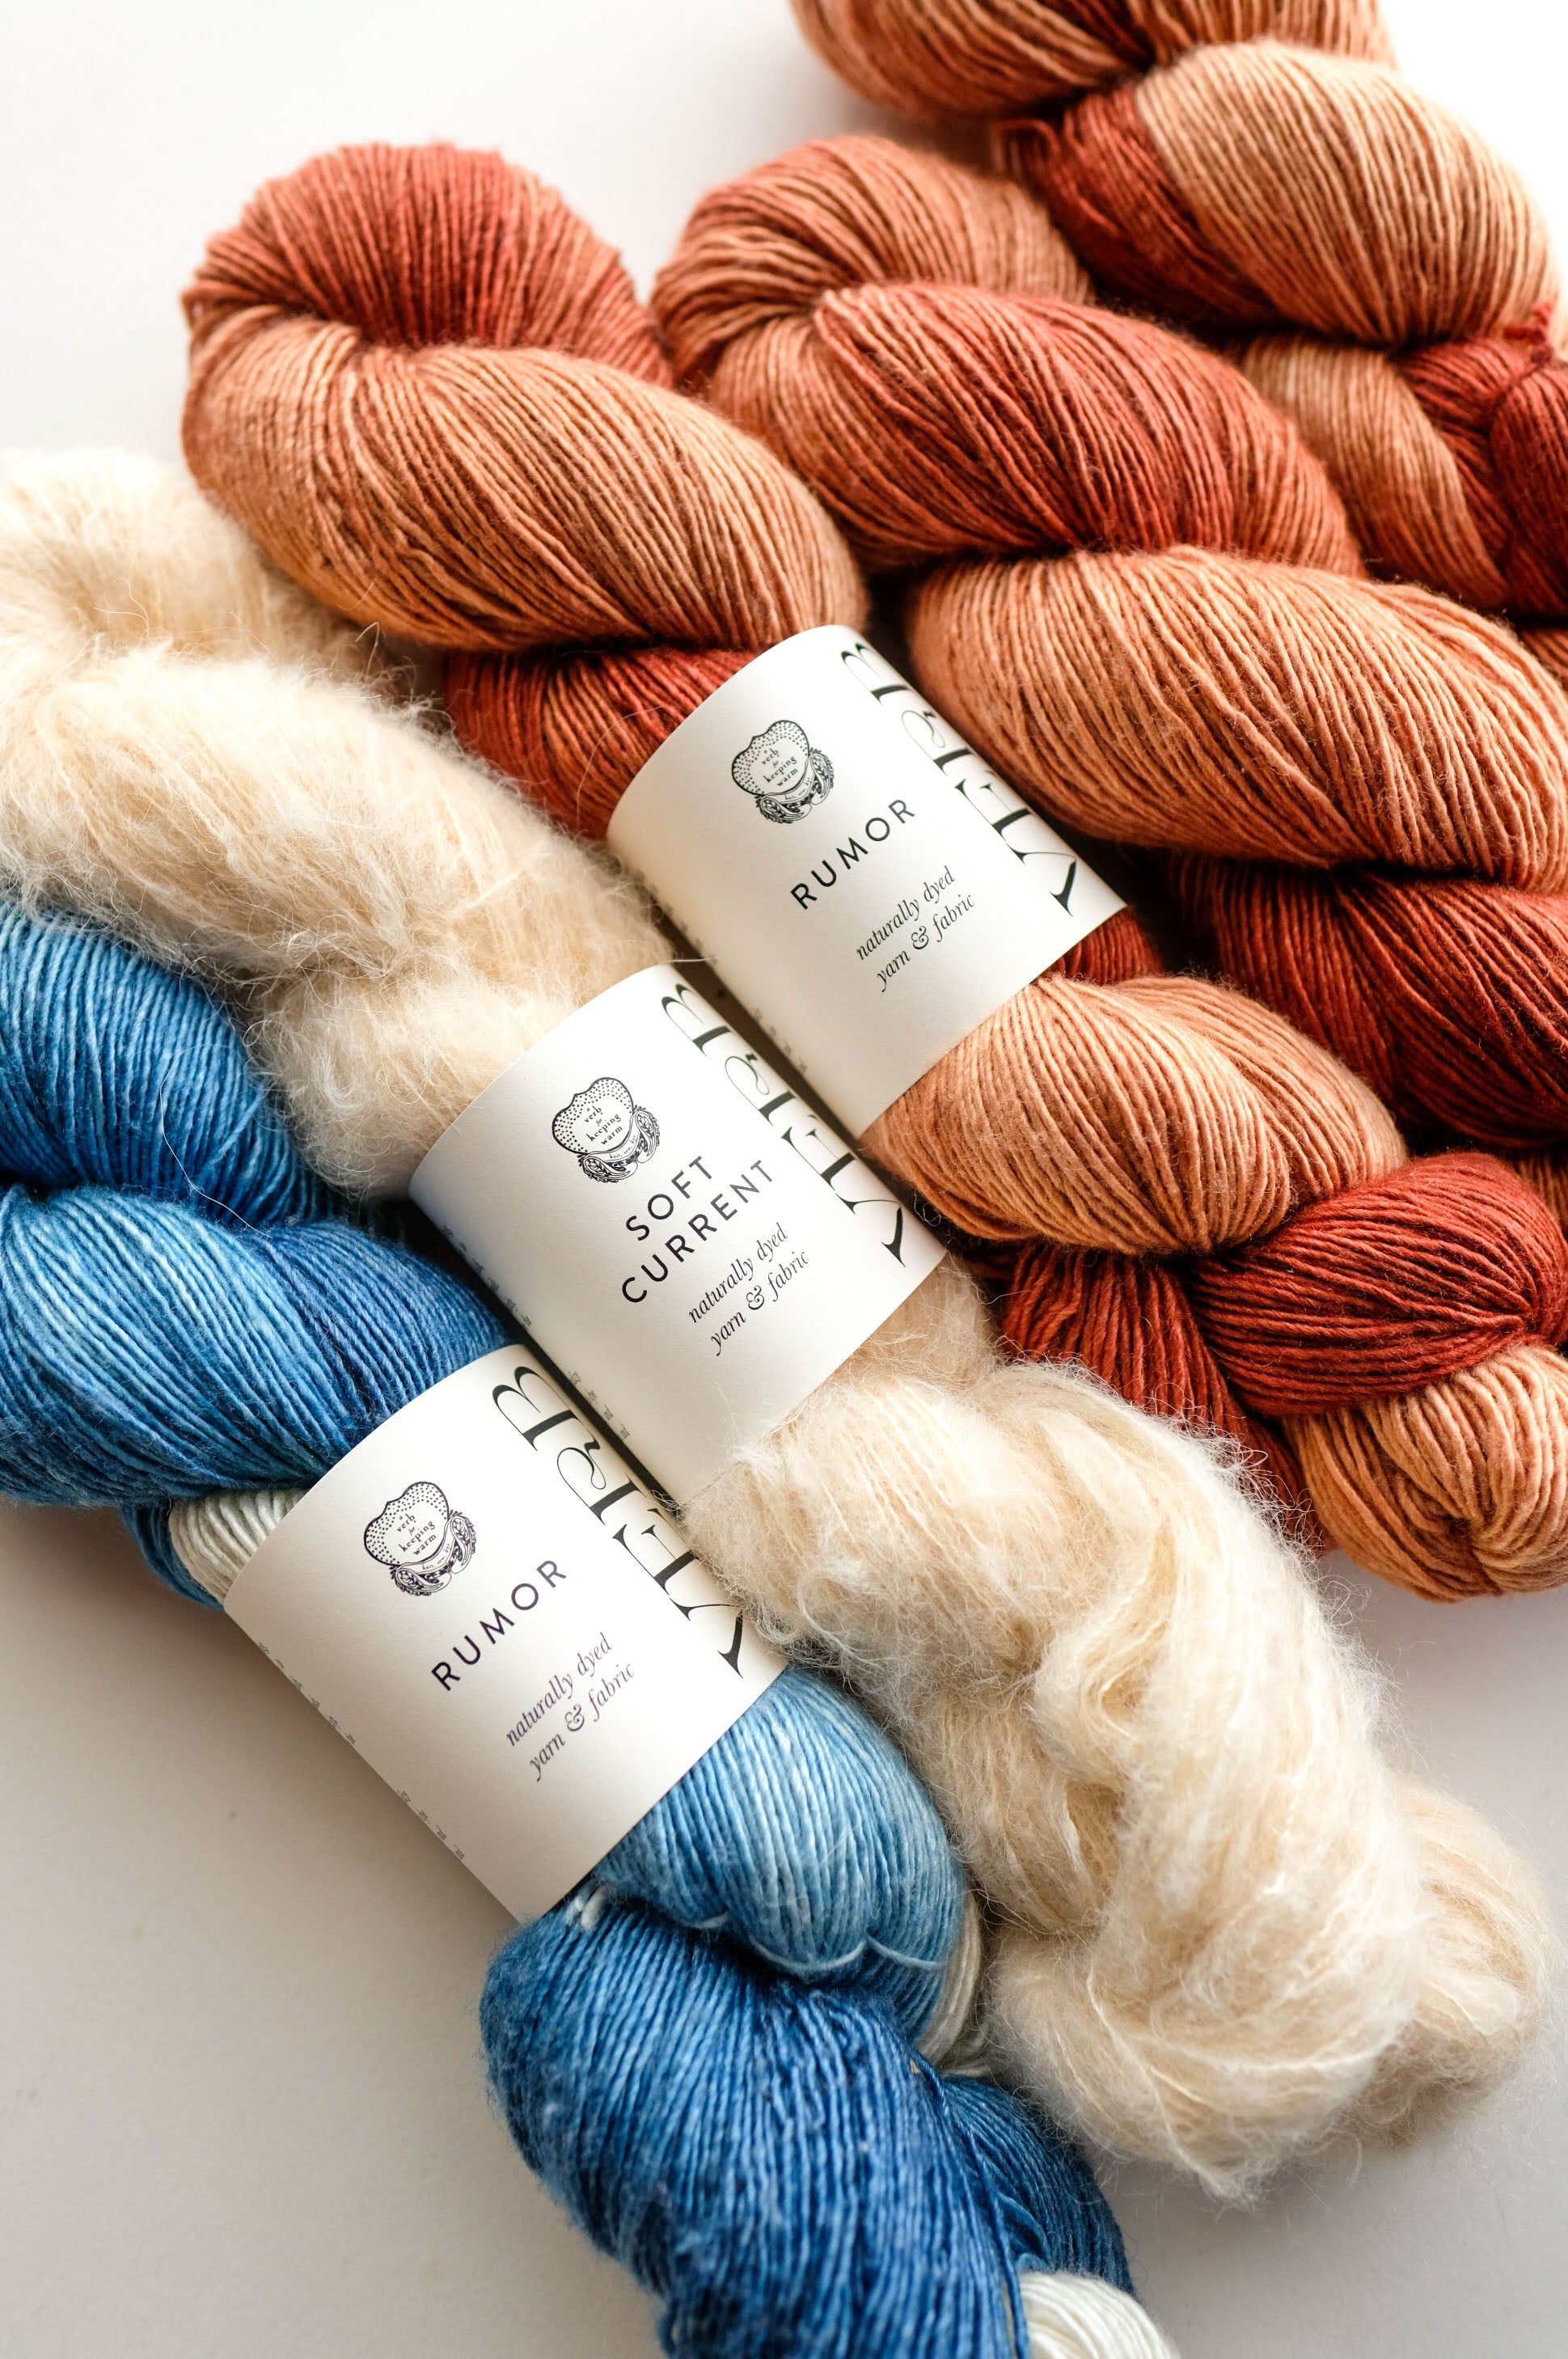
Dawn // the end of an era
Saying goodbye to a favorite Verb yarn: Dawn.
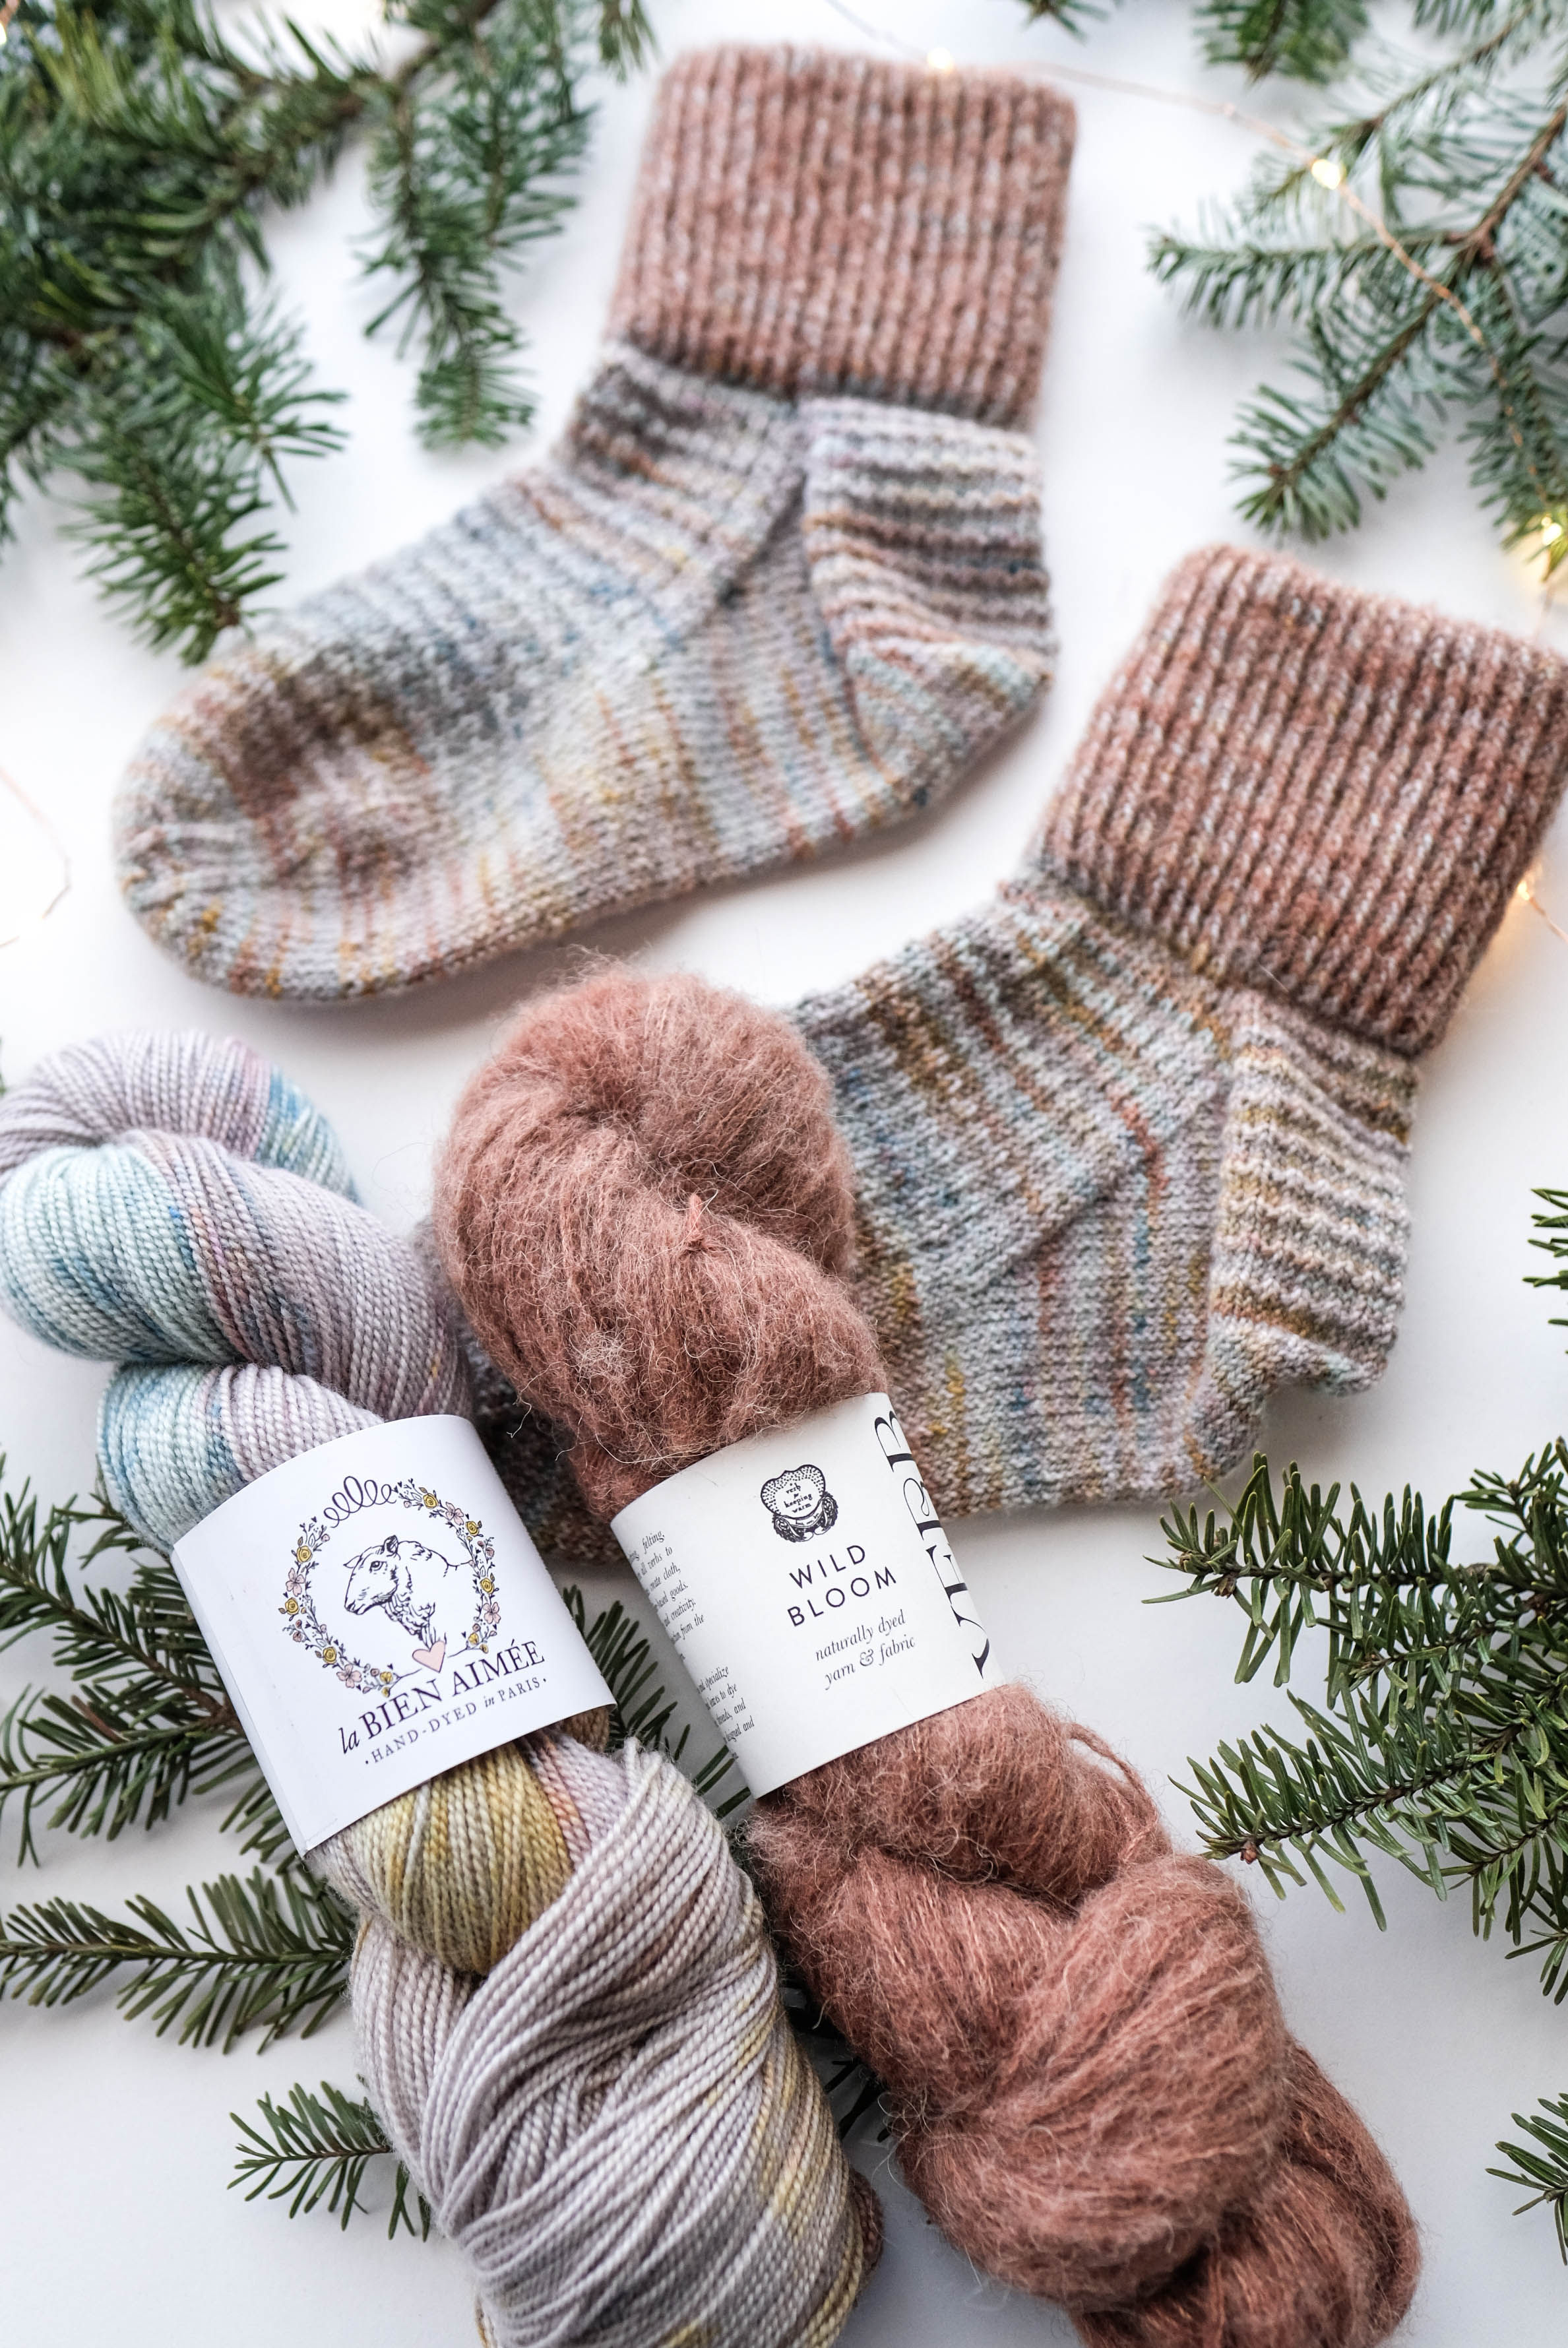
Hibernation House Socks by Lindsey Fowler
Cozy toes are a must for this time of year - and the Hibernation House Socks will help you keep your tootsies warm!
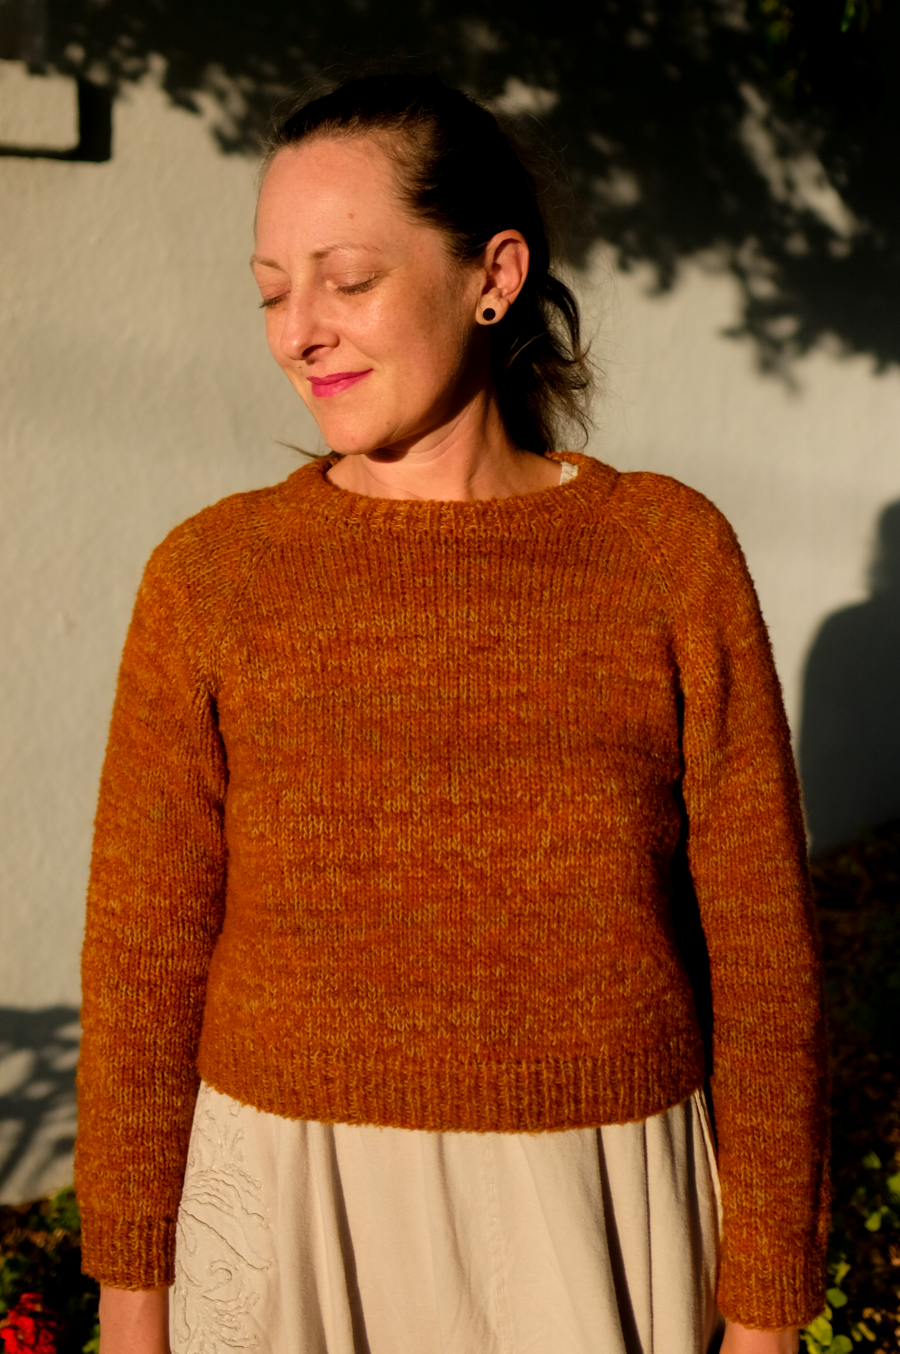
Lento by Jonna Helin
A wonderful little sweater to knit and keep warm is the Lento by Jonna Helin. It is easy to make and knit on a size 10 needle! So it knits up quickly!
Though Lento is knit on a size 10 nee...
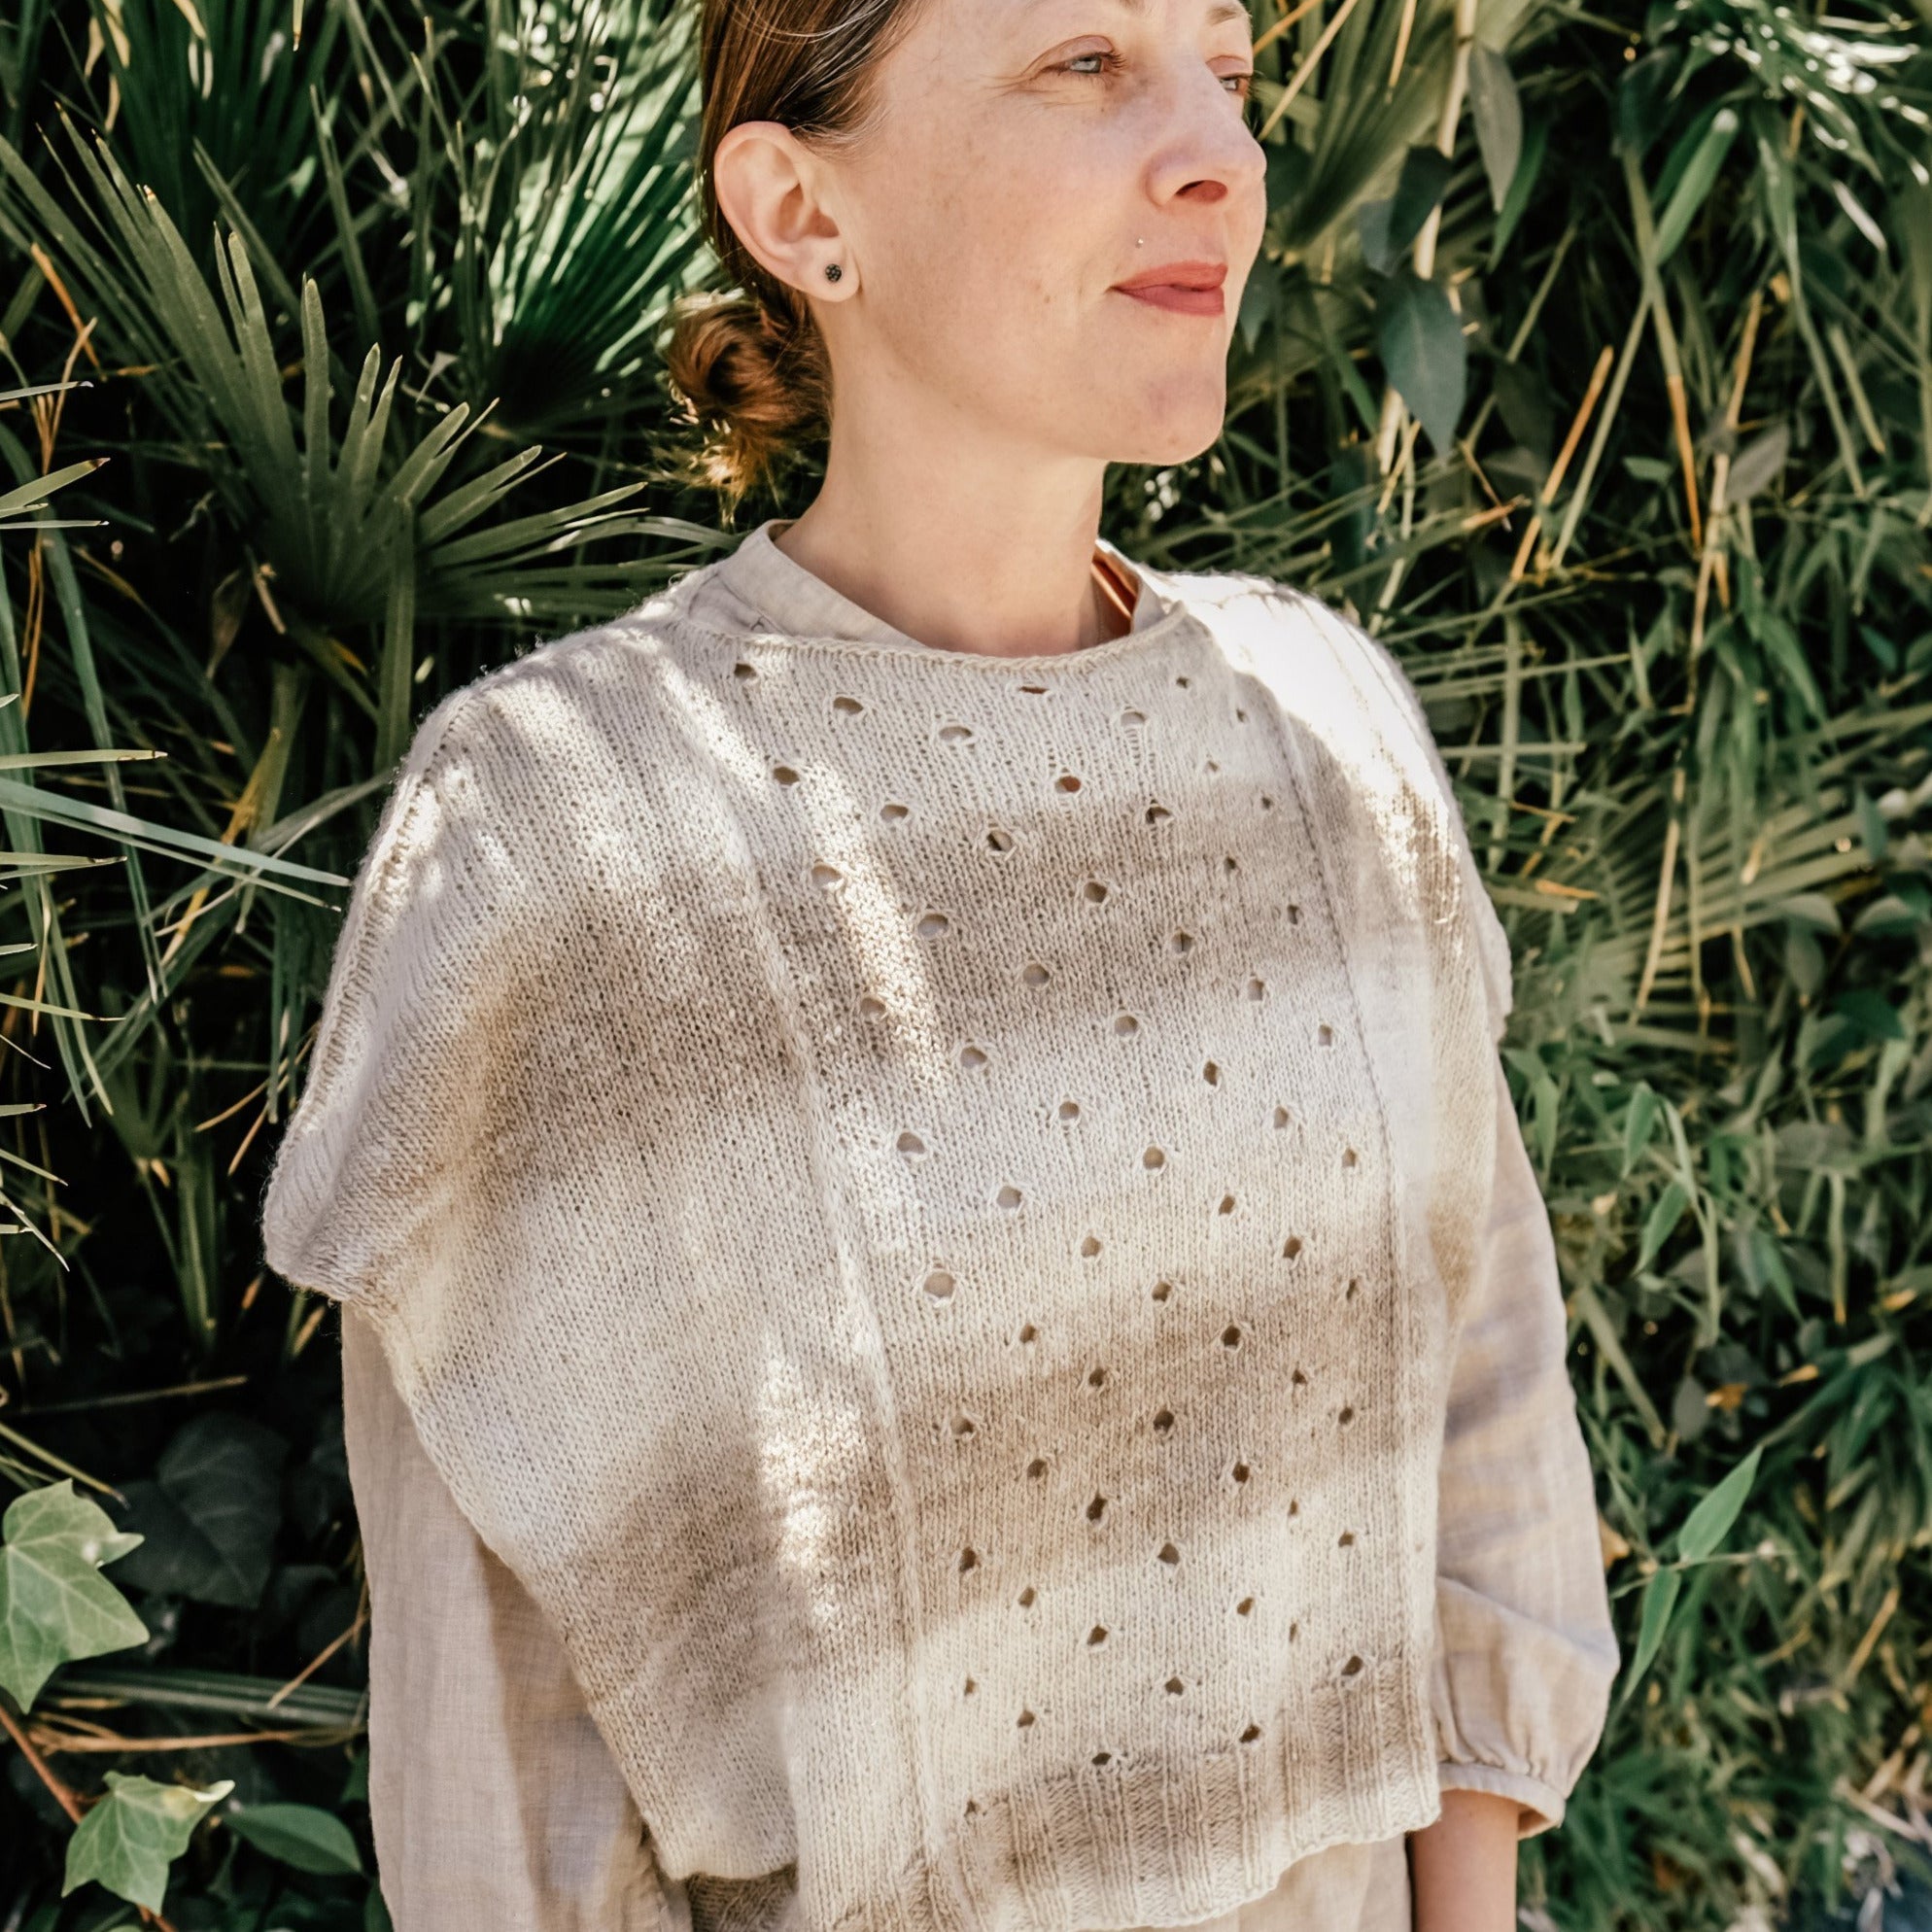
Olivia by Cocoknits
Olivia, knit out of Flock, is a great transition piece - more than a vest, but not quite a sweater!

Ieri Shawl by Mara Licole
The Ieri Shawl by Mara Licole is knit up in just one skein of Verb's Floating yarn - a great way to try a new color!
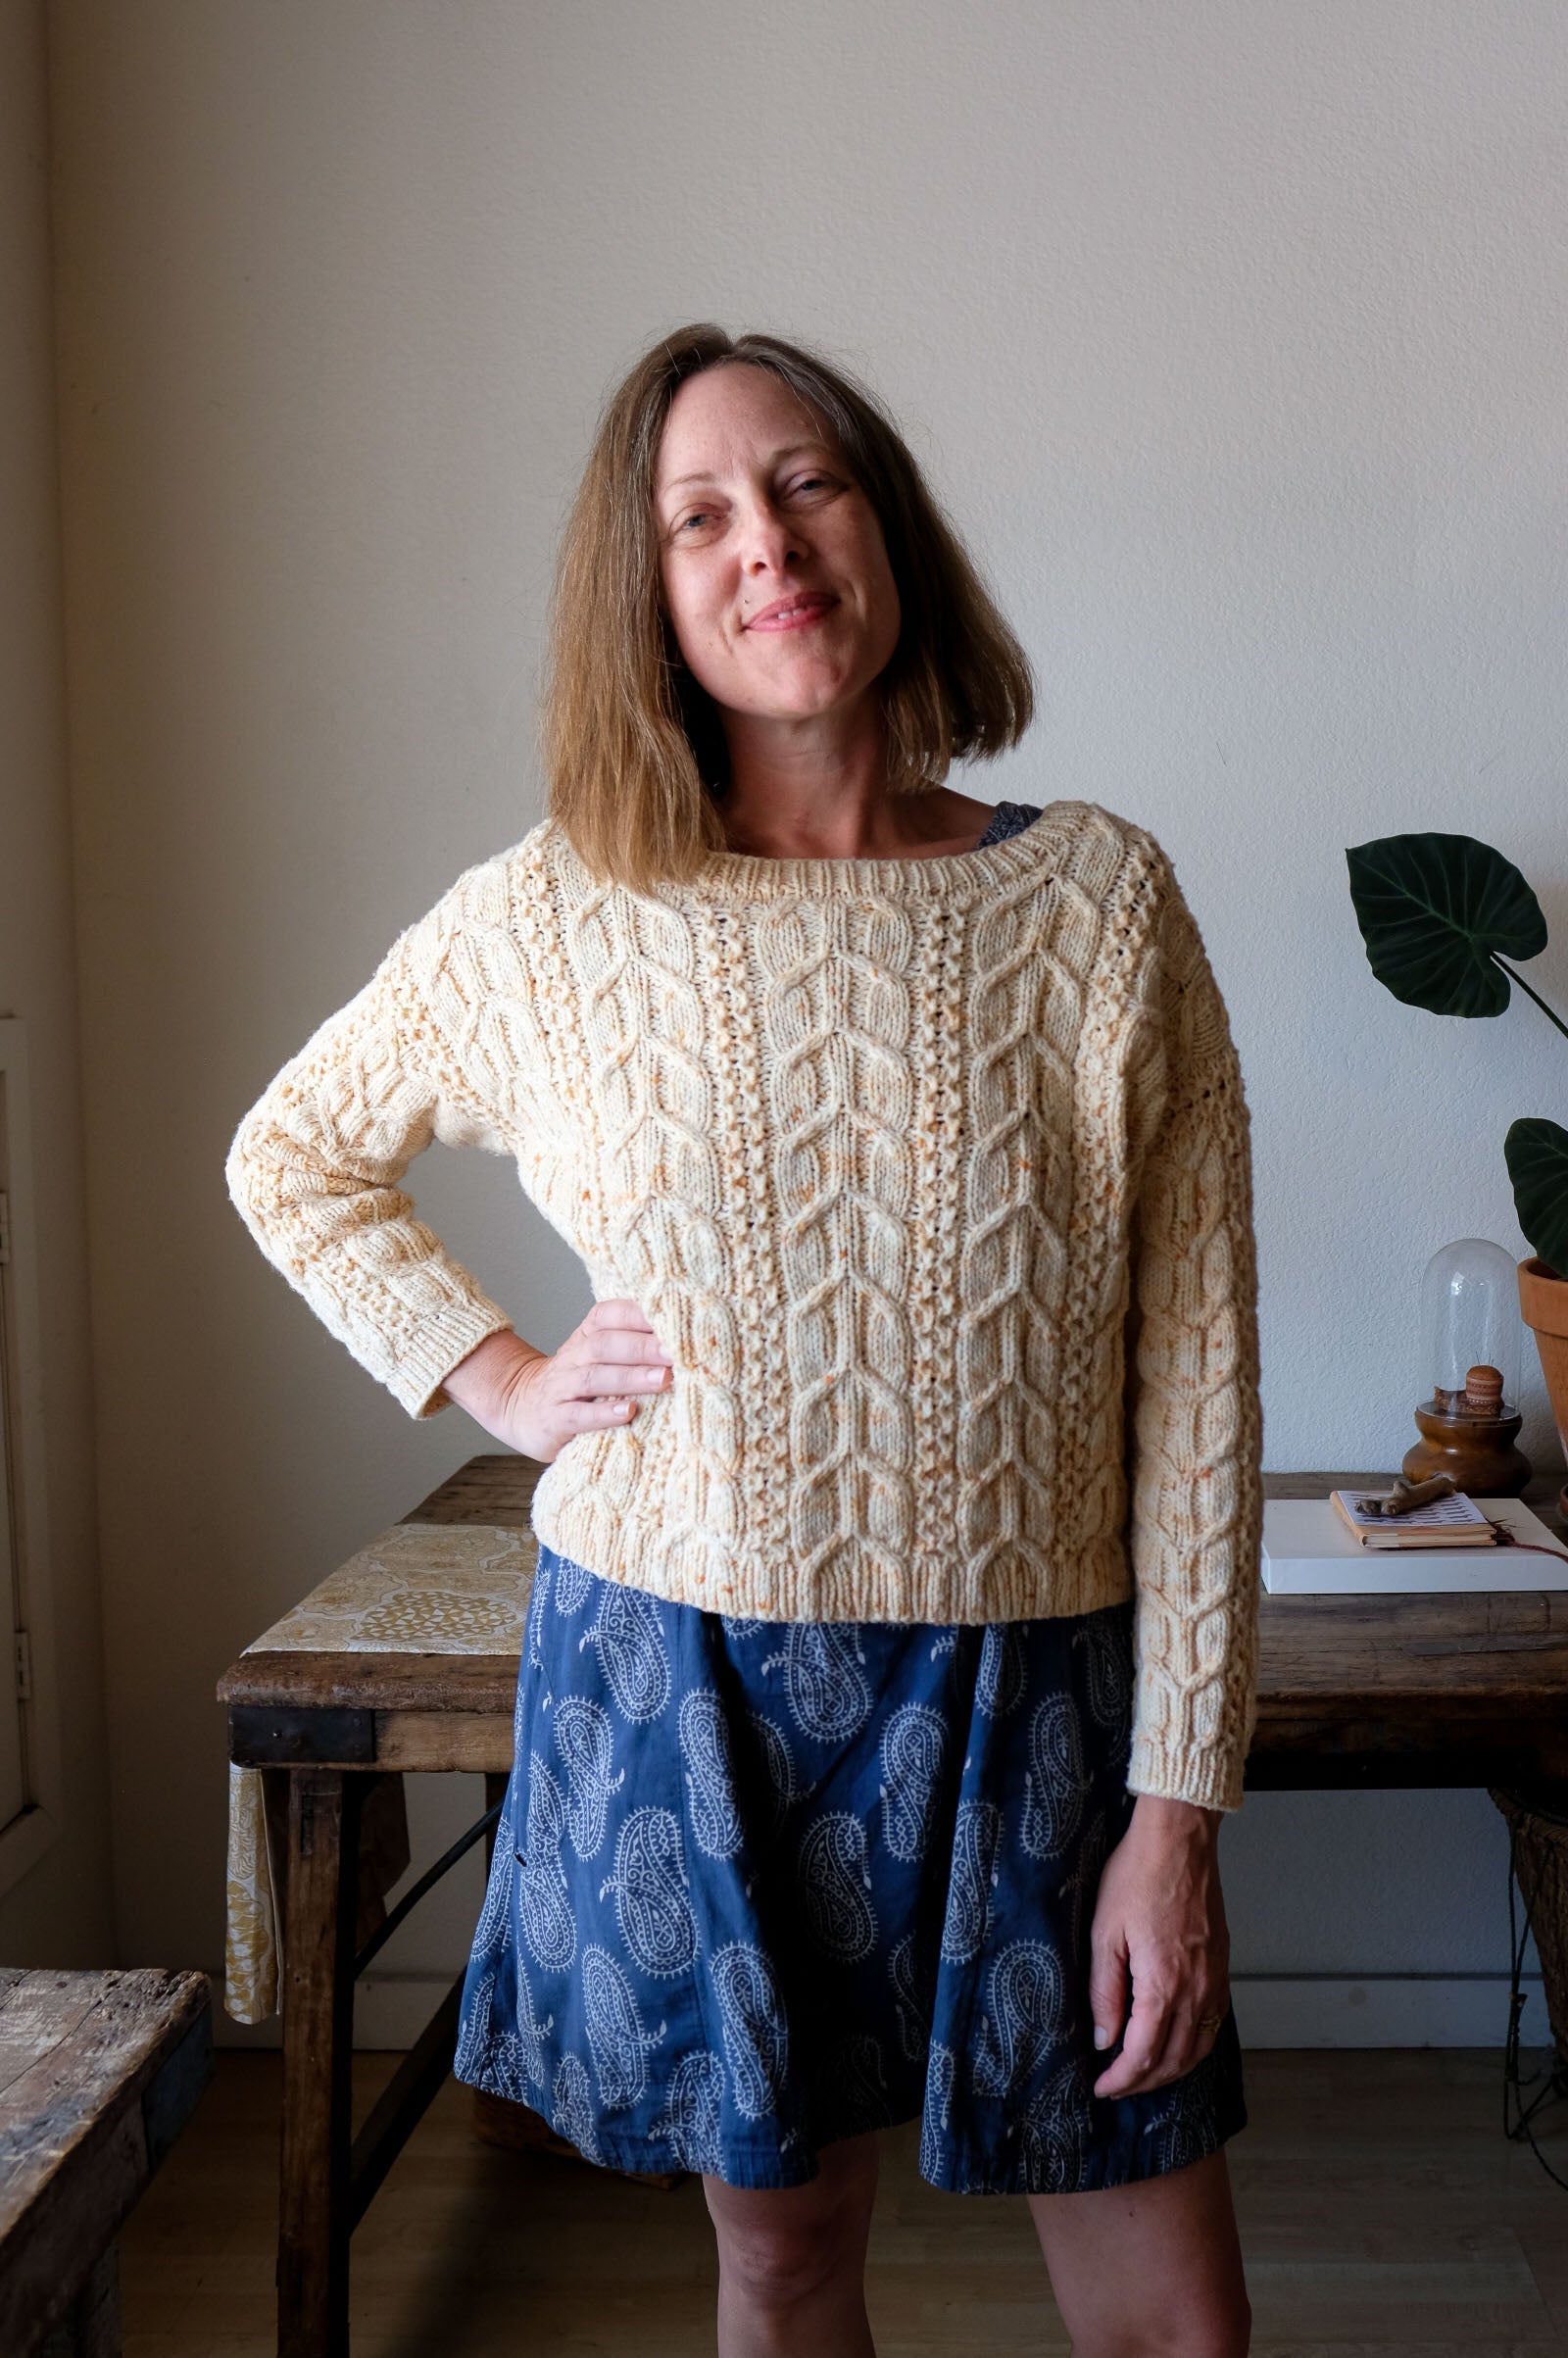
1908 by Thea Colman
1908 is a classic cabled sweater by Thea Colman knit out of Verb's Horizon yarn.
2026 Verb Knit-Alongs
Be the first to know about our upcomings KALs!
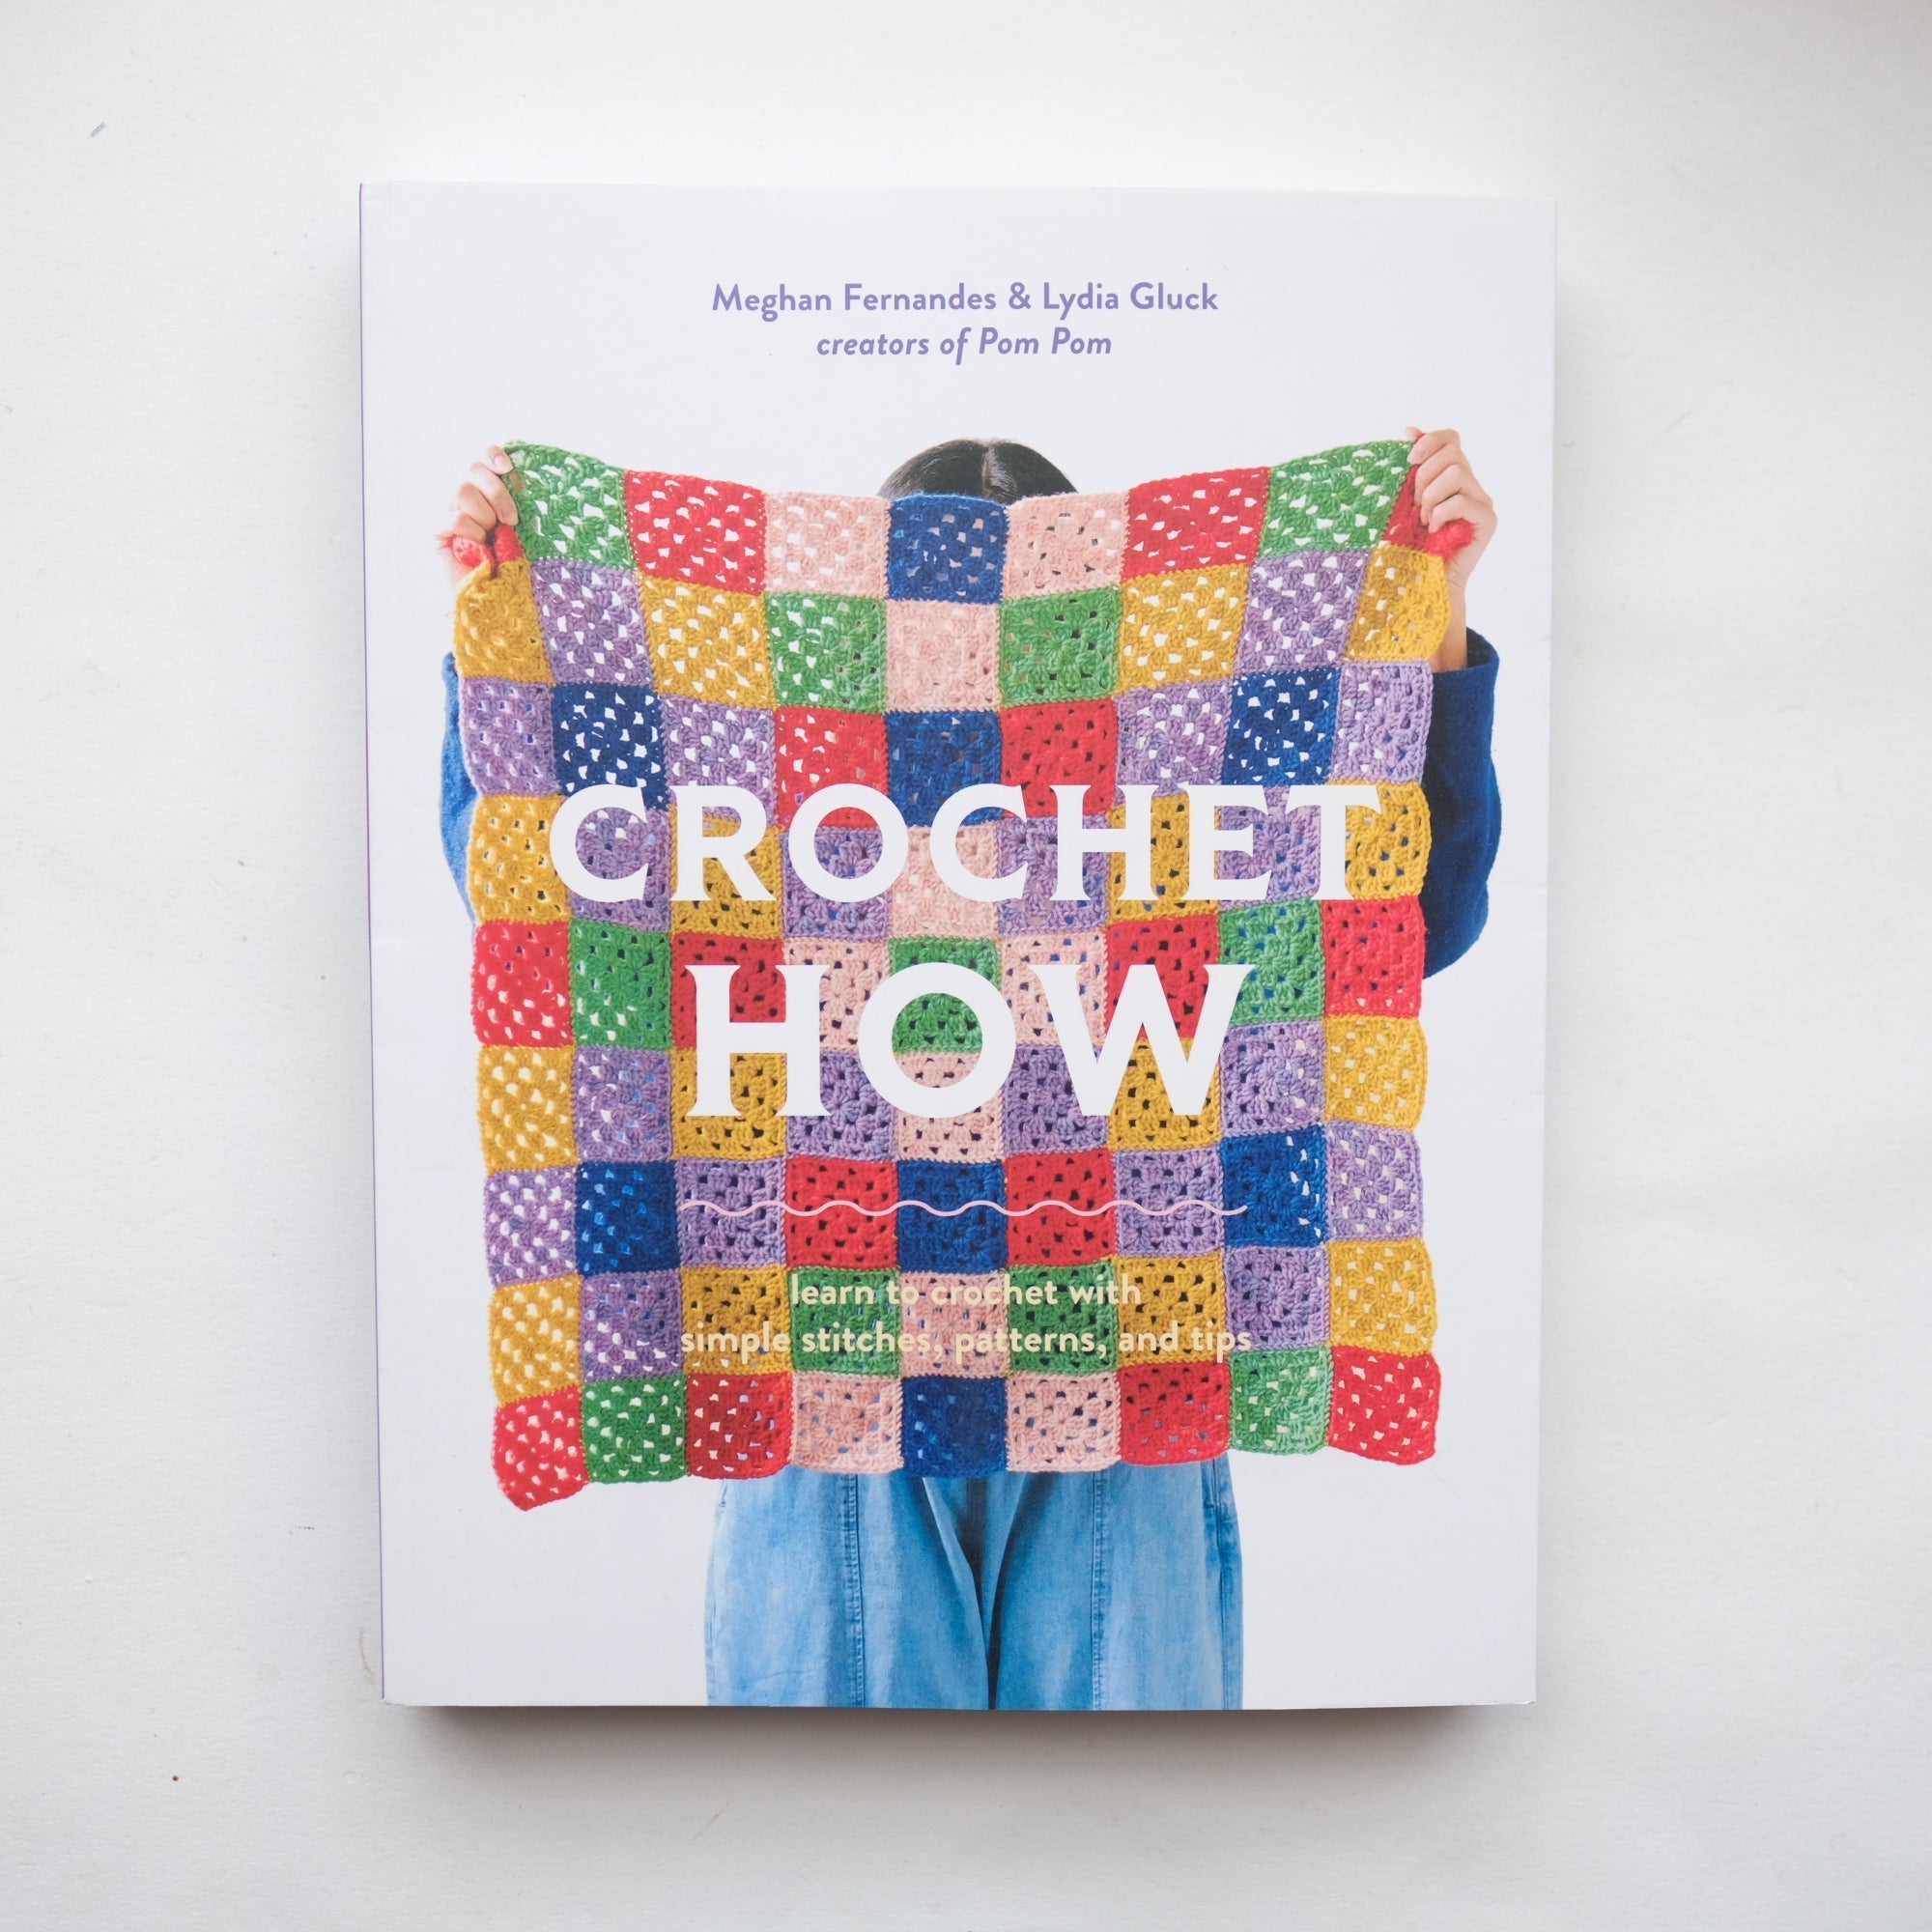
2026 Goals: Learn to Crochet!
Pick up a new craft in 2026!

Verb Winter Break
Verb will be on winter break from 12/28/25 - 1/1/26.

Last Call: Holiday 2025 Shipping
Place your order today to get your goodies by Christmas!
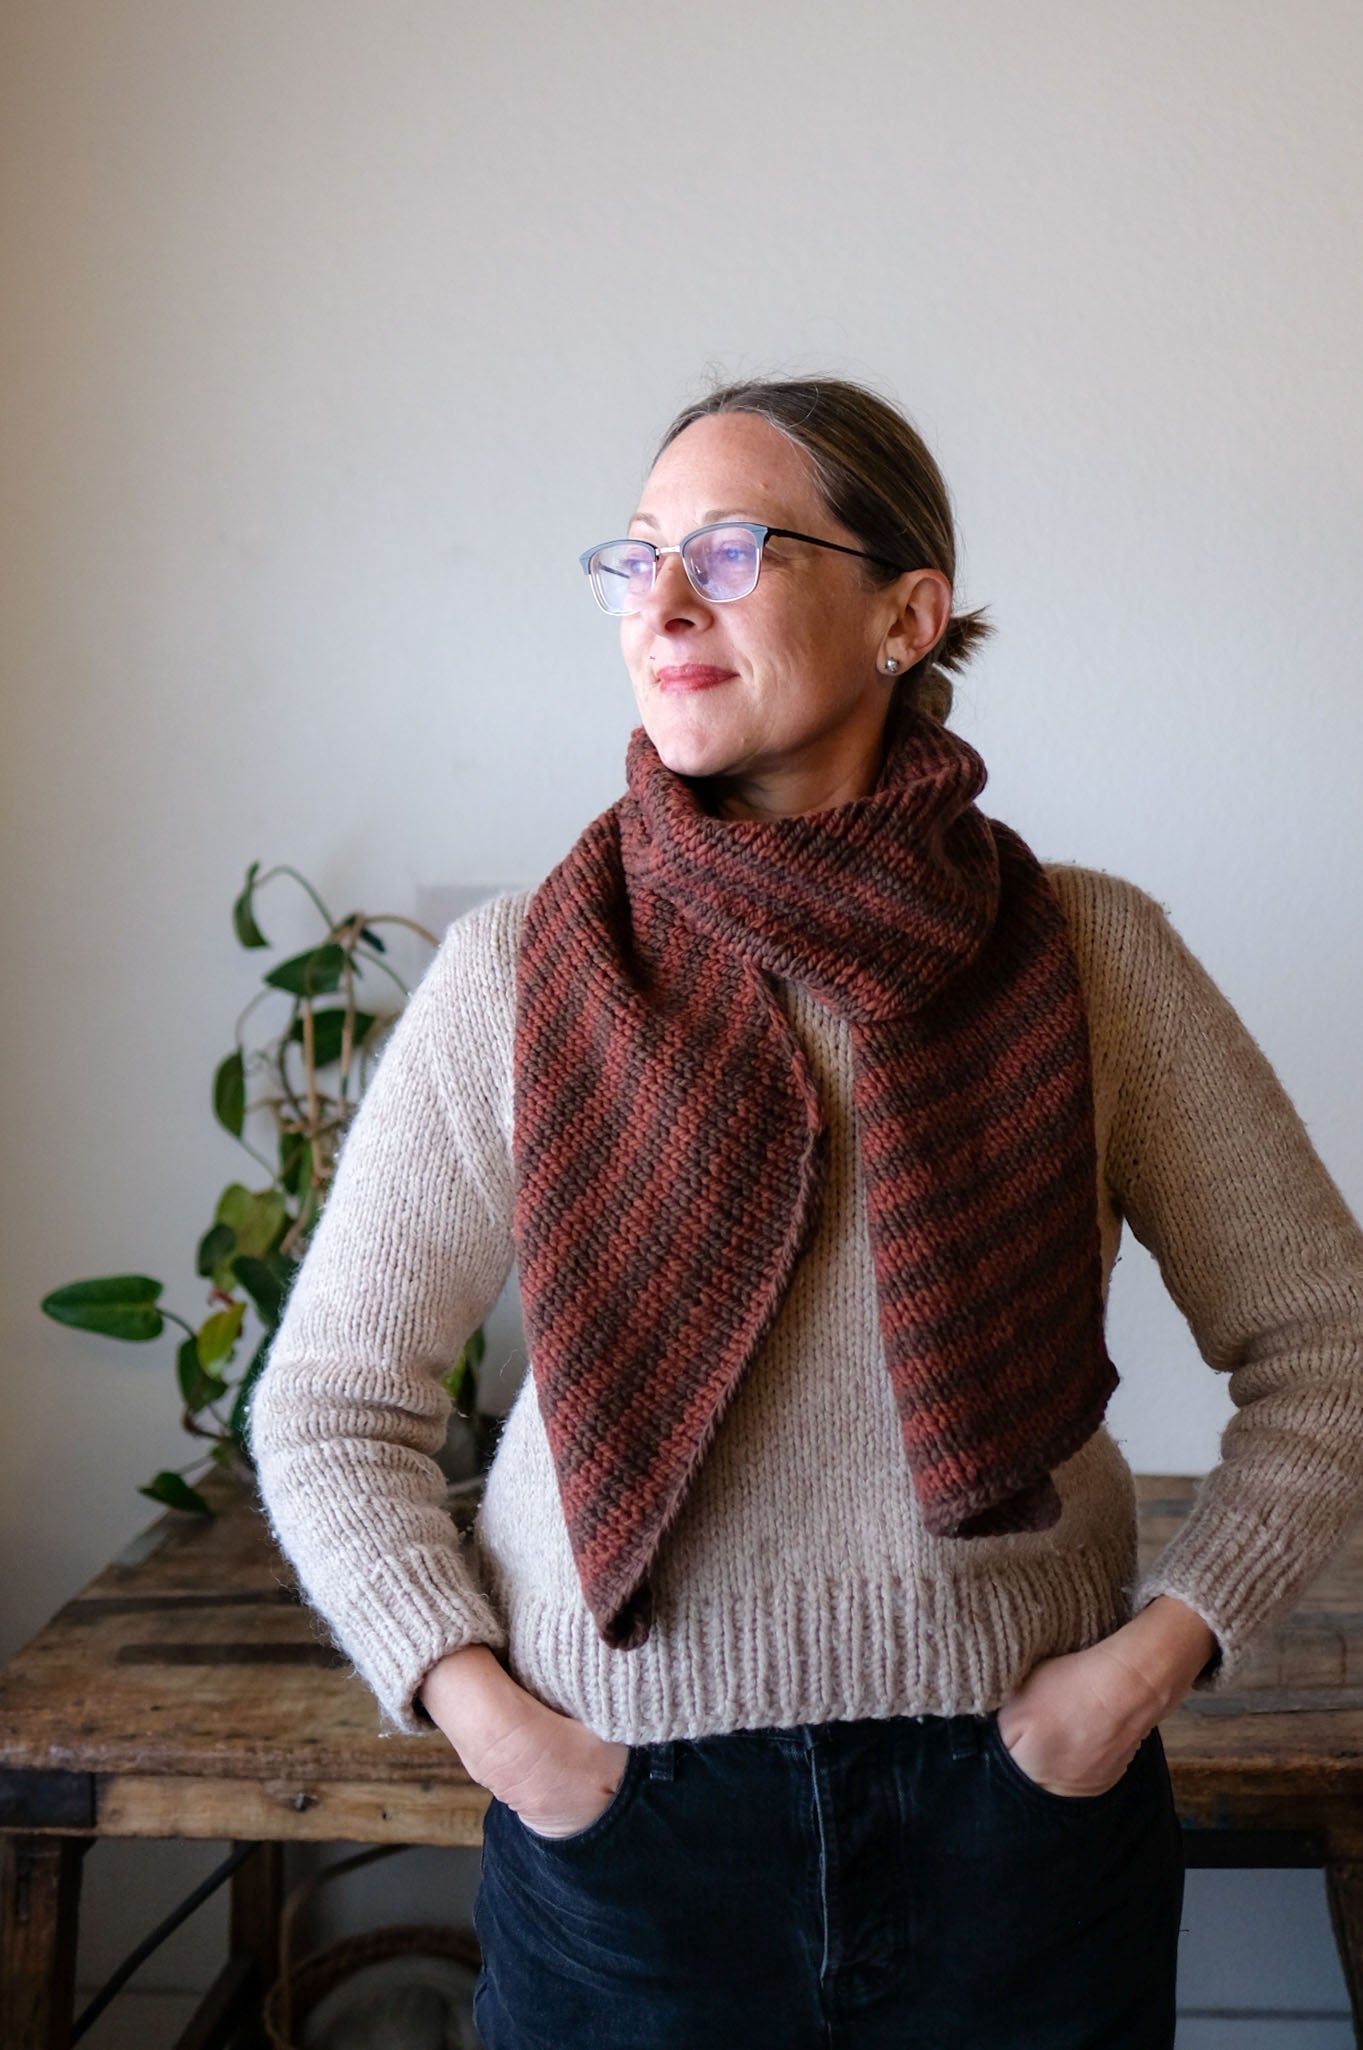
Hot Cocoa Bias Stripe Scarf
Get cozy with a cup of hot cocoa and whip up this simple yet elegant scarf using chunky Bread & Butter Bun.